Search This Blog

Friday, October 26, 2012

Move in Day!

Come on-a my house!


Today was the day I finally got to move in and arrange all the stuff I've been collecting - big fun!

This is very preliminary, but at least every room is furnished and has an obvious purpose. I can't stop opening the house and staring at it, and I'll probably move everything around around a million times. 


Here's a tour of what the rooms look like - for now.  Most of the furniture was described in the previous post so I'll just point out a few other things.

Third Floor

The Bathroom


The blue chair (which I kind of hate) as well as the little table and the picture above it were liberated from an estate sale room box that I bought on clearance from the Circus Dollhouse store.  I also bought the shelf above the bathtub from Circus Dollhouse.


The Bedroom

I don't like the bed but I am pretty sure I can do something with it.  The bundle of linens under the dressing table and the pitcher and bowl are from Circus Dollhouse.  The little cat is my favorite thing in the room!  I bought him on that first visit to the Dollhouse Factory.

Close up of the cute little cat, inspired my boy, Voodoo.
Voodoo - who spends most of his life asleep on my bed,
much like his dollhouse counterpart

Second Floor

The Parlor

The birdcage, candle fixture and the little pot on the fireplace (from Circus Dollhouse) and the tea set from the Dollhouse Factory.  I think the tea set is too big but I've noticed that notation ("slightly larger than 1/12") in catalogs regarding other tea sets. I'd like to find a nice one that is the right scale at some point.  The little bird in the cage at the back left corner is no longer sitting in his swing, I'll have to see if I can fix that at some point!

The Dining Room


The fireplace is the one I bought at an antique store during my trip to Cape May.  The rug is a doily from another antique store.  The mirror and pictures on the wall were from the same vintage room box as the items in the bathroom.

First Floor

The Library

The desk, chair and plant are all from a different vintage room box.  The desk is not in perfect shape but came with all these cool little desk doo-dads.  I will add a picture at some point.  The table between the bookcase was from the dollar store!  It's kind of ugly but I plan to put a little sofa in front of it when I find one.

The little cat is inspired by the newest member of our
household, Kato, who was born last Christmas Eve.  
The real Kato is also a known plant molester

The Kitchen

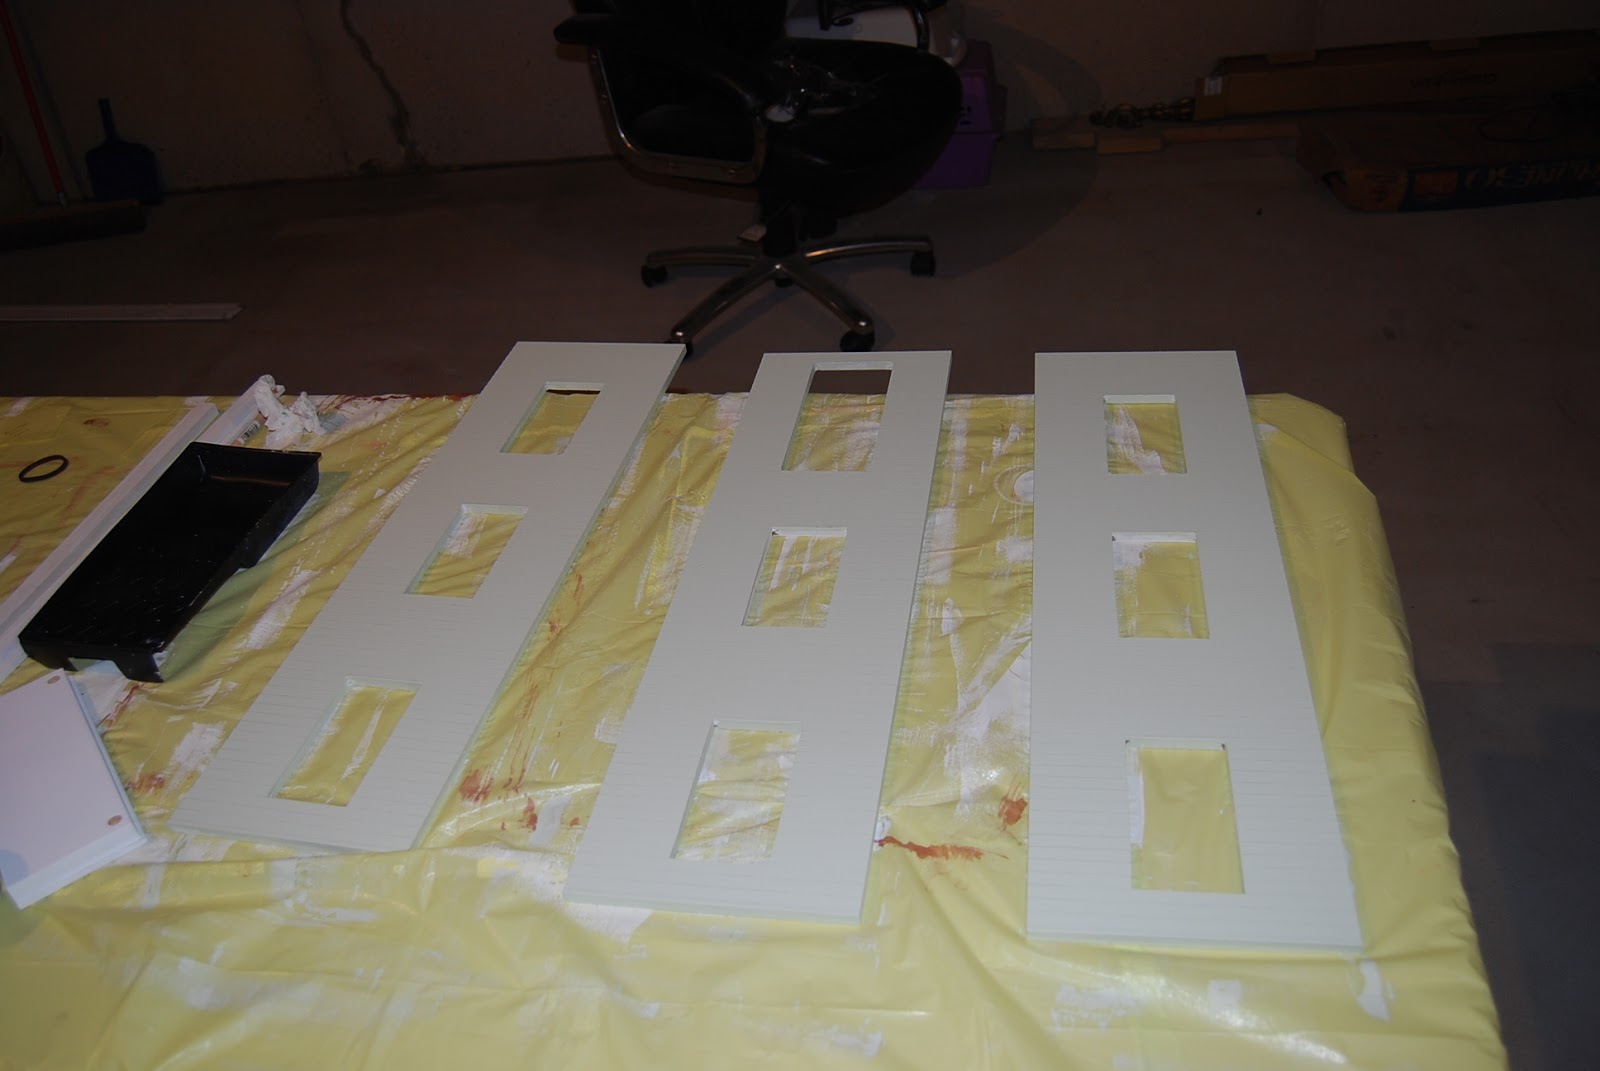
This room needs a lot of work. The only thing I'm happy with is the stove.  The table was from the dollar store.  Originally it was oval and had the same ugly red stain as the little table in the library.  I cut off the round edges to make the top square, and threw a coat of primer on it till I figure out what else to do.  The hutch is from Michael's.  I found many articles online about how to "bash" these hutches and make them into nicer things, so I wanted to have a bunch of them - but unfortunately, they don't sell them anymore.  I lucked out and found a stash of them - mostly broken - at a Michael's near me and bought them all!  They were only $1.29 each.

Here is a link to the site that inspired me:   Michael's Hutch Bash ideas

So that's it, the whole house!

Thursday, October 25, 2012

Finished Building!!

The song choice for today:


Finished at Last!


I enjoyed every step of the process, and now that the Miniature House is finally finished, I am really glad that I decided to build it instead of buying one that someone else made. Every time I look at it, I'll remember  how much fun I had working on this project with Bob. Plus, by building it I was able to customize it a little. Besides the color scheme, changes we made to the original design include:
  1. Added chimneys
  2. Changed the design of the front porch
  3. Eliminated some of the exterior trim
  4. Eliminated the flower boxes
  5. Eliminated the staircases from the inside
The model:  Strawberry Patch by Real Good Toys,
from their website, www.realgoodtoys.com

The finished product:  Ange's Miniature House,
by Ange and Bob

Here is another view from the front, where I have already added the front door knob, door knocker and two plants.


The inside of the house, all painted and without staircases - lots of room for furniture!


Now that I am done building, I'm kind of let down. It reminds me of the feeling I had after planning my wedding - it was all I thought about for months, and then it was over. But Bob and I are going on vacation next week, and when we get back I can start working on the interior decorating. I feel pretty certain - and a little afraid - that will take me to a whole new level of obsession.

Saturday, October 20, 2012

How to Spend an Amazon Gift Certificate Quickly


Today's song!


What's better than an Amazon Gift Certificate?

I received a generous AGC last Christmas, and I didn't want to spend it on books or in dribs and drabs, so I decided to wait until there was one big thing that I wanted to treat myself to. This strategy paid off, since now I have an entire dollhouse to furnish and the stuff is not cheap. The items I picked out below helped me blow right through the whole amount in a hurry. Below is a review of the products and some of the Amazon sellers I dealt with.

Amazon.com LLC

The bedroom and dining sets below were purchased directly through Amazon and are made by a company called Melissa and Doug. They don't make fine miniatures - these are really toys.  But both were very inexpensive and free 2-day shipping with Amazon Prime, so I gave it a shot.

When the bedroom set arrived, I was really pleased with it.  All the little doors open, the finish is uniform, no glue showing, etc. So I will keep this set - and at some point I will try to do something to glam up the bed.
The dining room set below I was not quite as thrilled with.  The little table is very nice, and the hutch is also nicely made, although a little small.  But the chairs seem a bit too large, there are places where the glue is visible, and I hate the red velvet upholstery. I opted to keep this set, mostly because it was so inexpensive and I hate returning things through the mail. But I probably should have waited to find something I like better. I will try to reupholster the chairs and if it turns out to be a disaster, not that big of a deal.
I purchased both of the items above from the same seller through Amazon Prime, but I noticed a very big variation in prices, even among "Prime" sellers.  In one case the difference was $10! That is something to keep in mind for all Amazon purchases, not just dollhouse stuff.

Superior Dollhouse Miniatures

The little bathroom set is nicer than it looks in the picture, I really like it.  It was purchased from Superior Dollhouse Miniatures through Amazon.  The shipping was a little high ($9.99), but I would purchase from them again. One of the pieces arrived with a chip in it, and their customer service was excellent. They responded to my email immediately and replaced the broken item quickly. 

Hobby Builder's Supply

All of the items below are from Hobby Builders Supply.  I like this company because shipping was only $6.95, they gave 10% off, plus the items came with a great catalog from Miniatures.com which I have been enjoying ever since.  

I was thrilled with this little fireplace, which for some reason cost much less through this company - I have seen what seems to be the identical fireplace for twice as much elsewhere. I just checked and it's not available anymore, so I wonder if the price was an error. Oh well, one of the few times in life that was in my favor!

I liked the globe, too, but it's a little too new looking for the Victorian feel I want.  Again, too much of a pain to return it, but I wonder if I can age it somehow? A project for another day.
I was completely disappointed with the piano - at first. From the front it is chunky and lacking in detail and really BIG. So it was definitely going back, but then I put it in the room just to see what it looks like, and when viewed from the side rather than head on, it just works. 

Craftbargain

I was happy with the items from Craftbargain, but the shipping was also high - $9.98.  I noticed recently that all the items on their site say "unavailable" so they may not be in business anymore. 

The set below is gorgeous.  The only thing I don't like is the armchairs have a little piece of the green fabric glued to the arms, and it's not done well.  That's a shame because the rest of the items are great quality.  
I also loved the stove, it is nicely detailed.  The burners come with lids, which are wrapped separately in tissue paper.  I mention this because I didn't know about the lids until a few days later, when I found the cat swatting a wad of tissue around the kitchen and almost threw it out. It must have fallen on the floor when I opened the box.

Dollhouse and More LLC

The dishes were purchased from Dollhouse and More LLC.  The shipping was $6.95 and the set came quickly and well packaged.  The plates are nicely detailed, with gold edging.
So that's everything - not a bad haul for "free!"  The next post will show how all this stuff looks inside the Mini House.


Sunday, October 14, 2012

I Get Shingles


The kind for the roof, of course.

I needed another roof song for today's post.  Here's a classic by the Drifters:


I mentioned on another post that the Strawberry Patch kit was relatively inexpensive. Shingles for the roof might be included in a more costly kit, but I had to purchase them separately. 

The instructions for dying the shingles said to cut a plastic milk carton in half and use the bottom as a tub for the dye, and the top as a strainer. That worked pretty well, but it was a messy job.  I wore gloves and old clothes.

A plastic milk carton cut in half serves as dye tub and strainer
The double thick cardboard of a packing box
worked perfectly for this messy job

I did a handful at a time and eventually they were all done.  Then they needed a day or so to dry.


I stained the roof panels the same color so the pale wood wouldn't show through.  I also decided at this point that the house would look better with chimneys.  So Bob cut holes in the panels where the roof would be, and then made the chimneys for me.  I love him.

Thee roof panels prior to staining

The roof panels stained, attached, and
with custom chimney openings 

After painting and installing the chimneys, I could finally start the shingle process.  First we had to mark the lines on the roof.  Then each shingle is glued on individually.  Yet another task that should have been tedious, but wasn't.

Shingles must be glued on one at a time, row by row.

Shingling around the chimney was tricky, I had to cut the
shingles to fit.

I didn't want to use the strange looking trim that came with the kit, so I had to figure out some other way to finish the peak of the roof, which otherwise would have a gap.

Original design calls for this weird stegosaurus-like trim to
close the gap at the peak of the roof, but I didn't like it.

I found a piece of molding at Circus Dollhouse and stained it to match, which I like much better.  (It seems like every time I leave the house, I have to buy something for the Mini House!)

The finished roof with shingles, custom chimneys, and custom roof peak. 

At this point there is really not much left to do.  A few more steps to finish up, and then I can finally start the part I've really been looking forward to - decorating the inside!

Sunday, October 7, 2012

Assembling and Installing the Windows

Today's musical selection, a lesser known Beatle's song:


One thing I have realized during this process is that you get what you pay for.  The Strawberry Patch Kit was quite inexpensive compared to other models.  In a more expensive kit, for example, all the windows are pre-assembled.

But my windows were most definitely NOT pre-asssembled. There are eight windows in the house, and each window consists of 15 separate parts - so 120 little pieces had to be painted and then put together!  The painting part was tedious, but I didn't really mind assembling them.

The pictures below show the process for each window.  In the last picture you can also see how the redesigned porch (see previous post) turned out.

All these tiny pieces had to be painted for the windows
The 15 different parts that make up each window

Interior trim pieces glued together

Spacers glued to the reverse side of interior trim

Spacers glued to reverse side of shutters

Assembled window - exterior view 
Assembled windows - interior view.   (The little fireplace
is the one I picked up at an antique store in Cape May.)

Below, the Mini House with all windows and doors installed.  Also pictured is the finished porch - I was able to get the additional posts and railing I needed from Circus Dollhouse.  I'm really happy with the way it came out.


Friday, October 5, 2012

Re-designing the Front Porch

For today's musical inspiration, this was the only song I could think of that had "front porch" in the lyrics.


We had to take the center front panel off in order to add the porch. The first part was easy to install because both the top and bottom part had pre-drilled holes for the posts.


The next part was a little trickier. From the beginning I wasn't in love with the design of the porch on this house.  The proportions just seem wrong.
 
I'm not crazy about the design of the porch

I think the x-shaped ballusters make the railings too high.   I don't understand the railing in front of the door at all, and I think there should be a railing on the third floor instead.  When I was mulling over this idea, I came across this blog post:  1930s Glam Townhouse from "Diary of a Dollhouse" blog
This an amazingly creative and beautiful dollhouse, which was "bashed" from an existing Strawberry Patch dollhouse.  The blogger did quite a bit of renovation to the structure, including something very similar to what I envisioned for the front porch.  It looked great, and this confirmed that I was on the right track. 

Since I wanted the railings to be shorter, I decided to just cut the existing ballusters in half.  I was really happy with the way they came out.  I think the shorter look is more elegant.

Cutting the ballusters in half gave a look that I preferred.
Painting all of the ballusters and getting them to line up
inside the railings was a big pain in the neck.


Since the original design didn't call for the railing on the third floor, it presents a few issues.  First, I'll have to find or somehow make additional posts and porch railing pieces, because the railing in front of the door didn't extend around to the sides (with balusters in half, I have plenty of those so I don't need to find more).  Second, there will be no pre-drilled holes to insert the posts into, so it will be a little trickier to get everything to line up properly.

Well, for now the porch is halfway done and I think the finished product is going to look good.
My re-designed porch, awaiting the purchase
of more pieces so I can add railing to the third floor. 

A final thought:  anyone who wants to build a Miniature House should definitely get a small mitre box.  I got the one below from Amazon for about $15.00 and I have used it constantly for this project - for example, cutting the ballusters in half.


Wednesday, October 3, 2012

The Front Panels - Now Things are Happening!


I submit for today one of my favorite Supreme's songs.  I really enjoy Diana Ross's crazy bouffant in this video:


By the end of today's events, I was ridiculously happy - my project looked much less like a strangely painted bookcase, and more like a house.

Below are all the front panels and all the long pieces that needed to be primed, sanded, and painted with two coats of Pale Sagebrush before assembling. Also visible are the gables and roof sections that have already been installed.


The front panels had a bit of a curve to them, so when gluing the pieces together we added pieces of wood to help straighten them.  The wood also prevented the clamps from leaving marks in the finished paint job.


Long pieces are glued and nailed to the front edges of the house where the hinges will screw in.


The front panels are attached with hinges.


And, Voila!!